Hold your horses, folks! We’re about to embark on a flavorful journey into the world of charcuterie boards, where we’ll explore the art of folding salami to create a visually stunning and delectable masterpiece. So, buckle up and grab your favorite salami because this guide on “How to Fold Salami for a Charcuterie Board” will change how you entertain forever!
Charcuterie Board Basics: A Brief Overview
Let’s delve into the nitty-gritty of charcuterie boards, their history, and why salami folding is such a big deal. As the saying goes, one must learn to walk before one can run.
The Charm of Charcuterie Boards
A Storied History
The charcuterie tradition dates back to ancient Rome, with its roots in curing and preserving meats. Fast forward to today, and charcuterie boards have become a staple of sophisticated social gatherings and festive feasts.
A Feast for the Eyes
A well-crafted charcuterie board is a sight to behold, featuring diverse colors, textures, and flavors that tantalize the taste buds and stir the soul. Salami folding is a critical element that elevates your board from ordinary to extraordinary.
How to Fold Salami for a Charcuterie Board: Techniques to Impress
The Classic Fold
Now that we’ve covered the basics, let’s dive into the pièce de resistance: salami folding techniques that will make your charcuterie board the talk of the town!
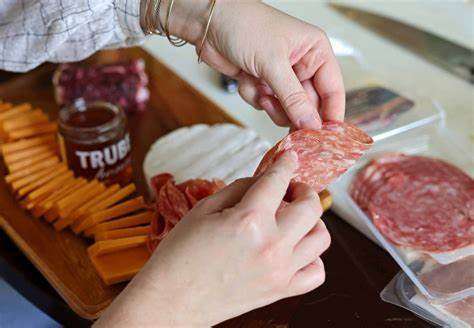
- Start by laying a slice of salami flat on your cutting board.
- Fold the salami slice in half, creating a semicircle.
- Fold it in half once more, forming a neat, compact triangle.
- Arrange the folded salami slices in a circular pattern on your charcuterie board, working from the outer edge towards the center.
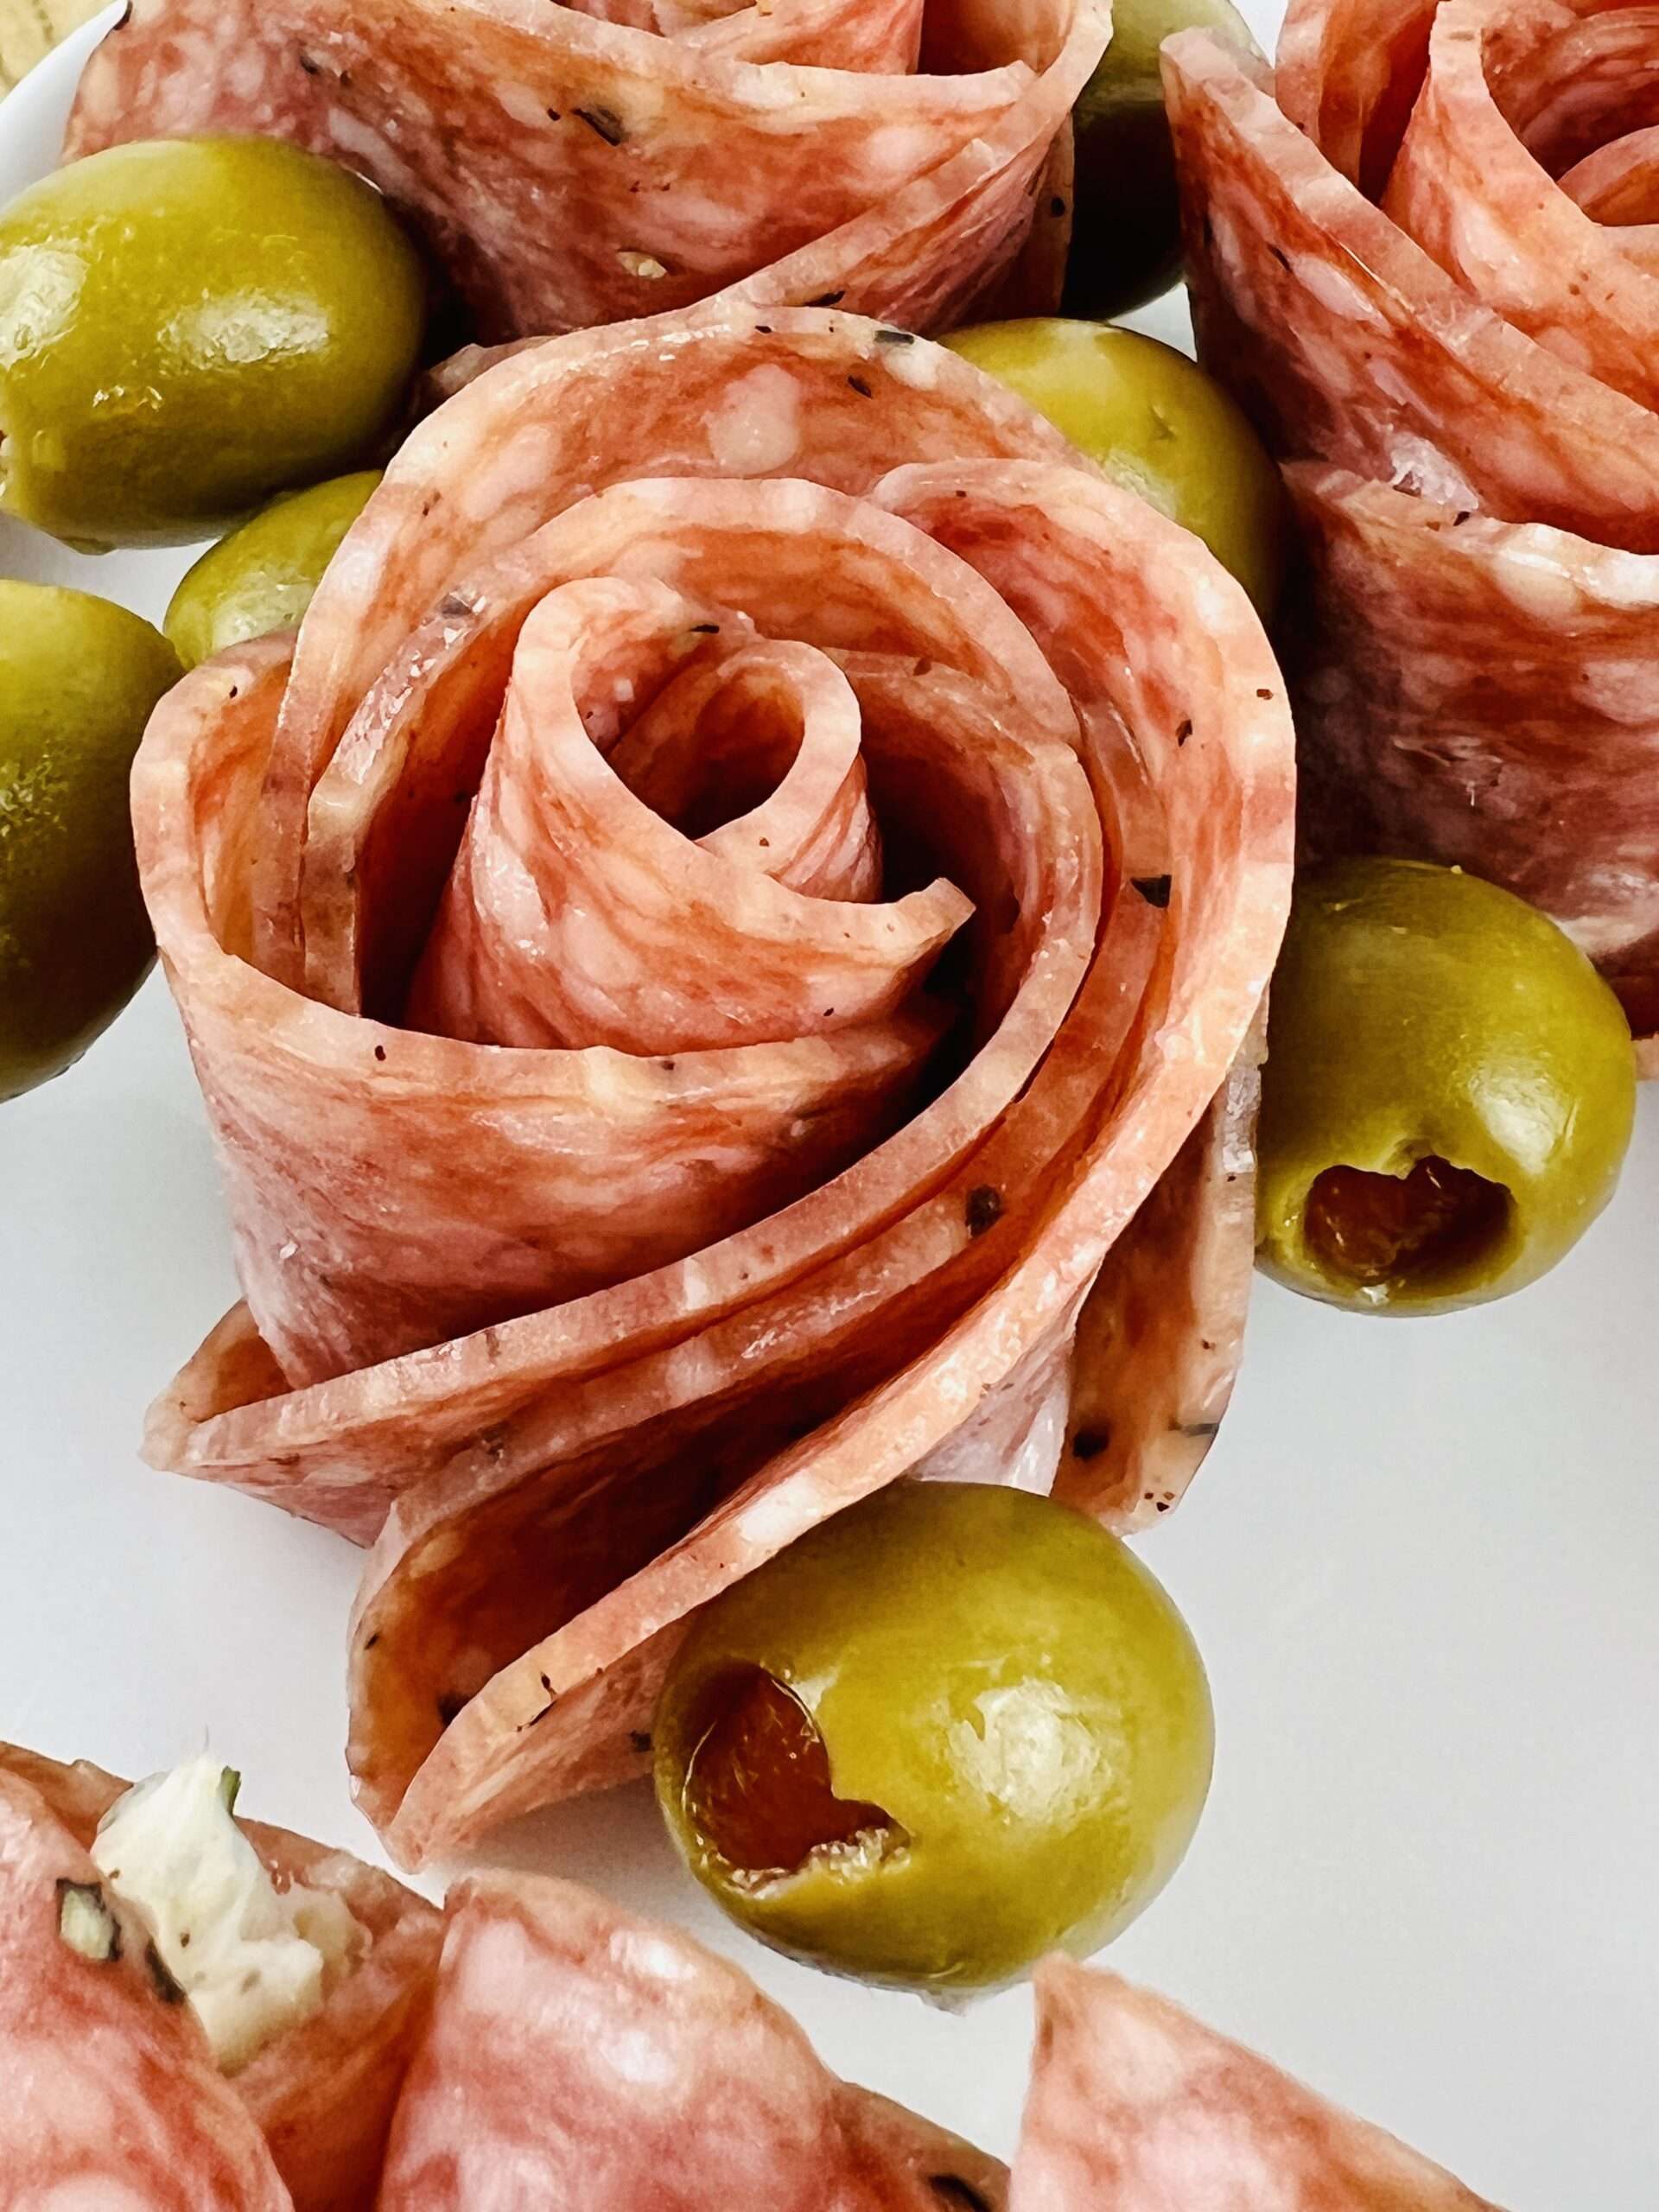
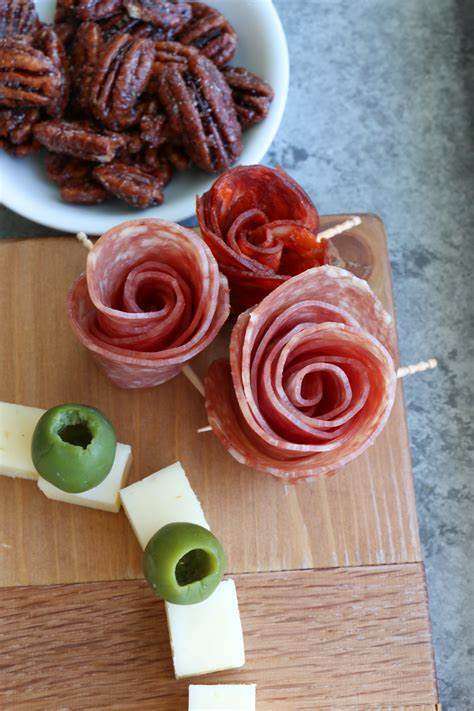
The Salami Rose
- Lay a salami slice flat and roll it up tightly, forming the center of the rose.
- Wrap additional slices around the center, overlapping each slice slightly to create the appearance of petals.
- Continue adding slices until you achieve your salami rose’s desired size and fullness.
- Place the salami rose strategically on your charcuterie board for an eye-catching centerpiece.
The Salami Ruffle
- Hold a salami slice by one edge and make small accordion-like folds along the entire slice.
- Pinch the unfolded edge to secure the ruffle shape.
- Repeat this process with multiple slices to create a cluster of salami ruffles.
- Arrange the ruffles on your charcuterie board, using them to add texture and visual interest.
FAQs: How to Fold Salami for a Charcuterie Board
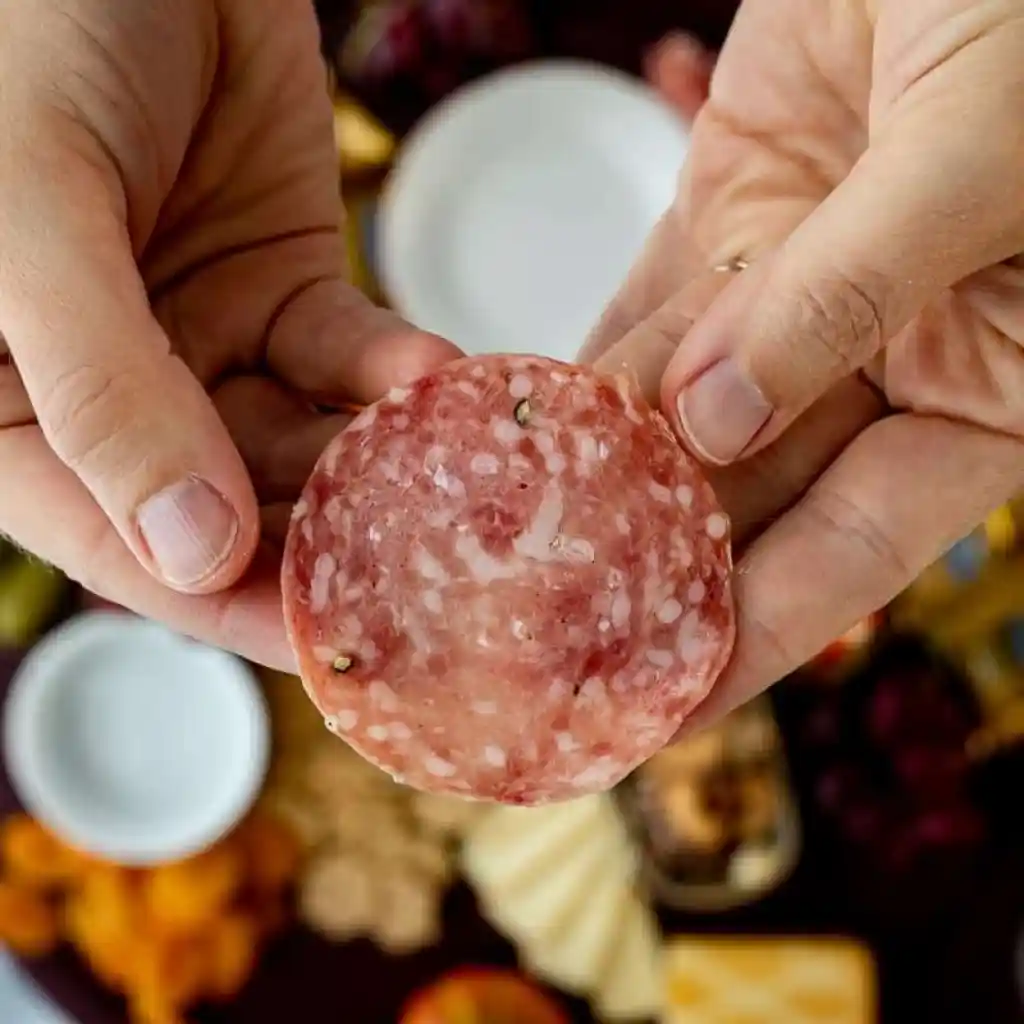
What types of salami work best for folding?
Choose thinly cut salami, which is more flexible and simpler to fold. Both hard and soft varieties can be used, depending on your preference.
Can I use other types of cured meats for folding?
Absolutely! Feel free to experiment with prosciutto, coppa, or other cured meats to add variety to your charcuterie board. Remember that the folding techniques may need to be adjusted slightly depending on the thickness and flexibility of the meat.
How can I prevent salami slices from sticking together when folding?
If you’re having trouble sticking salami slices together, place parchment or wax paper between each slice as you fold. Doing so will facilitate managing the slices and prevent them from adhering to each other.
How do I ensure my charcuterie board is visually appealing?
To create a visually stunning charcuterie board, focus on balancing colors, textures, and shapes. In addition to folding your salami, arrange other elements like cheeses, fruits, nuts, and crackers appealingly, ensuring a variety of sizes and complementary colors throughout the board.
Conclusion:
Now that you know how to fold salami for a charcuterie board, you’re on your way to becoming a master of the art. Remember, practice makes perfect, so don’t be afraid to experiment with different folding techniques and styles to find the perfect combination that suits your taste and aesthetic.
By incorporating these tips and tricks into your next charcuterie board, you’ll impress your guests with your culinary prowess and create a mouthwatering, visually stunning masterpiece that’s sure to be the life of the party. So go ahead and unleash your inner charcuterie artist – your taste buds and guests will thank you.

Food stylist & founder of One Board Gal. Known for creative food tips and simple cheese board inspiration. I am dedicated to helping you bring a lot to the table by sharing tricks, tips, and education for your next gathering.